Post by Deleted on Oct 18, 2011 13:36:17 GMT -5
This is the dehydrator my Dad made for us last year out of stuff we had around the house. Don't judge, lol! it worked great! ;D
Supplies:
Rubbermaid bin (In our case a small waste bin)
Old lamp that works (Helps if it's ugly, this one was hideous)
Tin foil
Dremel tool or a pocket knife
Wooden Dowels
Paper clips
Screwdriver
Meat (That part you are on your own)
Step One:
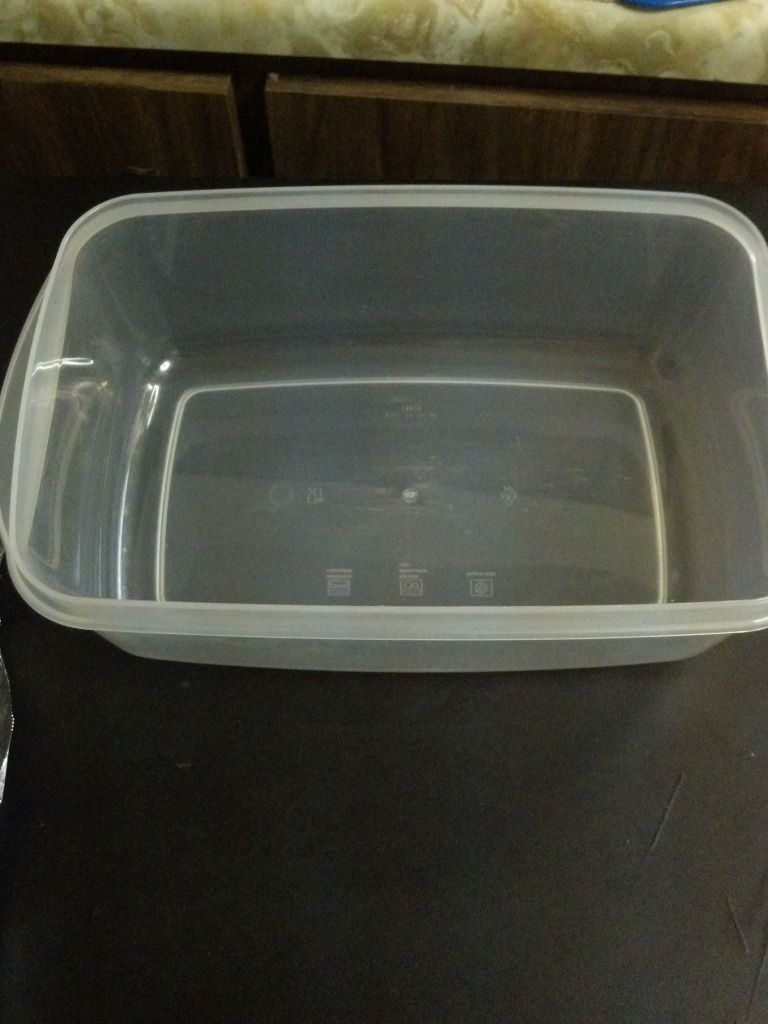
Wash and dry your waste bin.
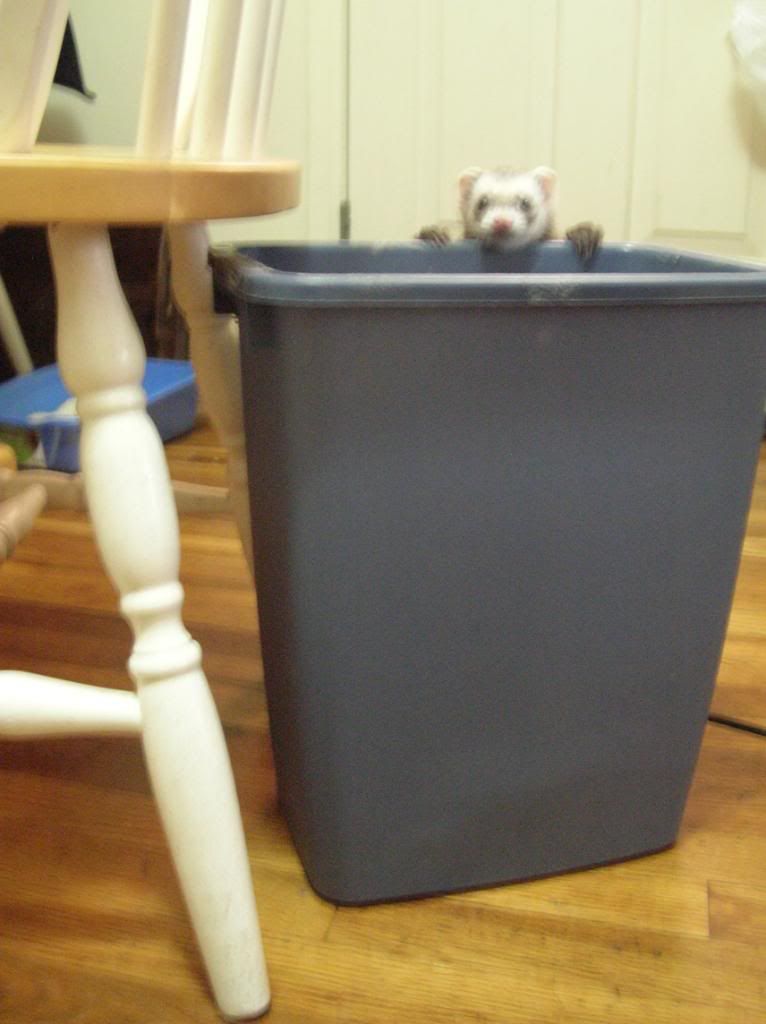
Here is ours for scale (with a helper)
Step Two:
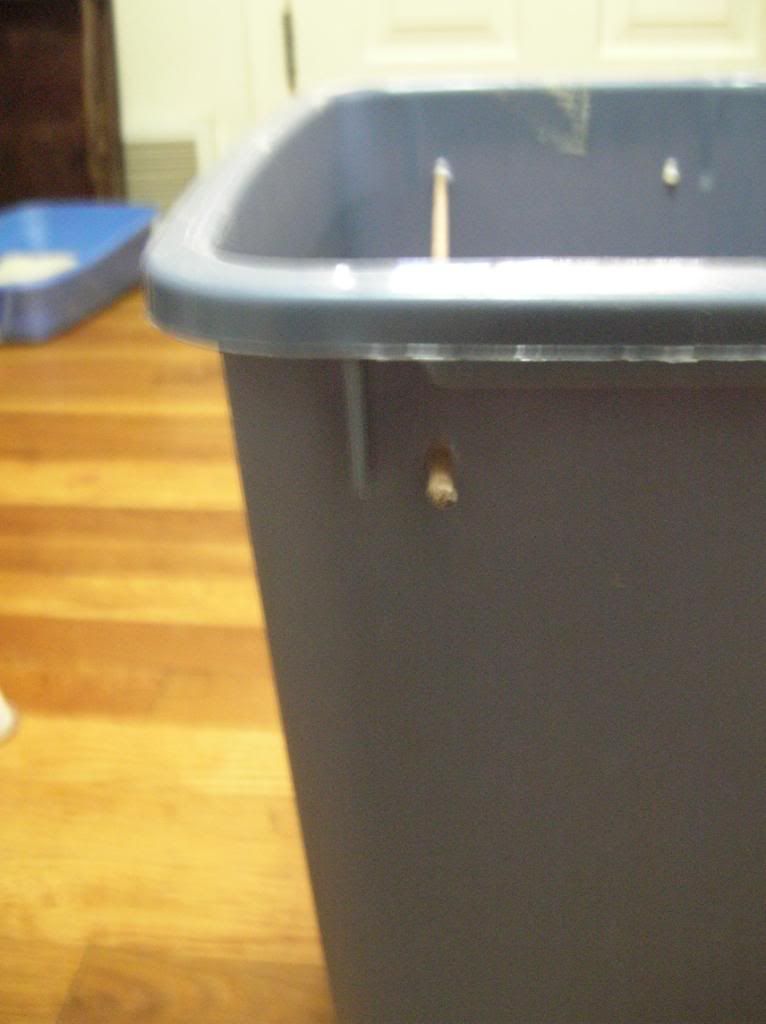
Drill Holes in bin for light cord and wooden dowels. Make sure there is enough space between your dowel holes that your meat doesn't touch for better airflow. Our bin holds two 'racks'. Make your racks run the longest direction from side to side to hold more meat.
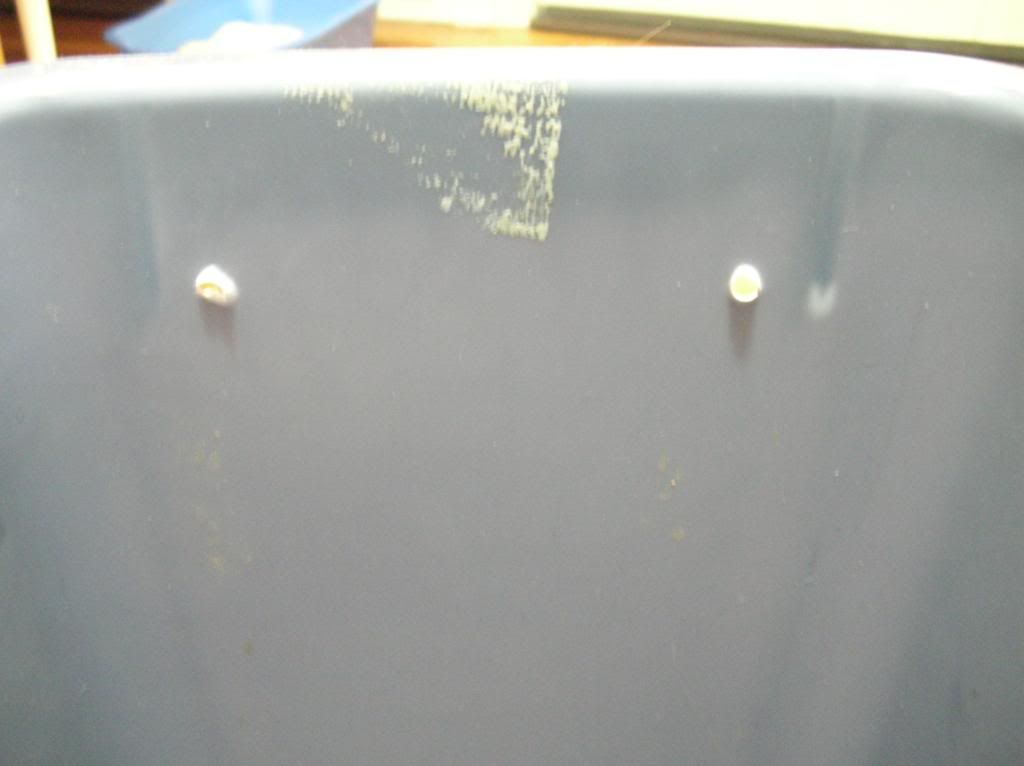
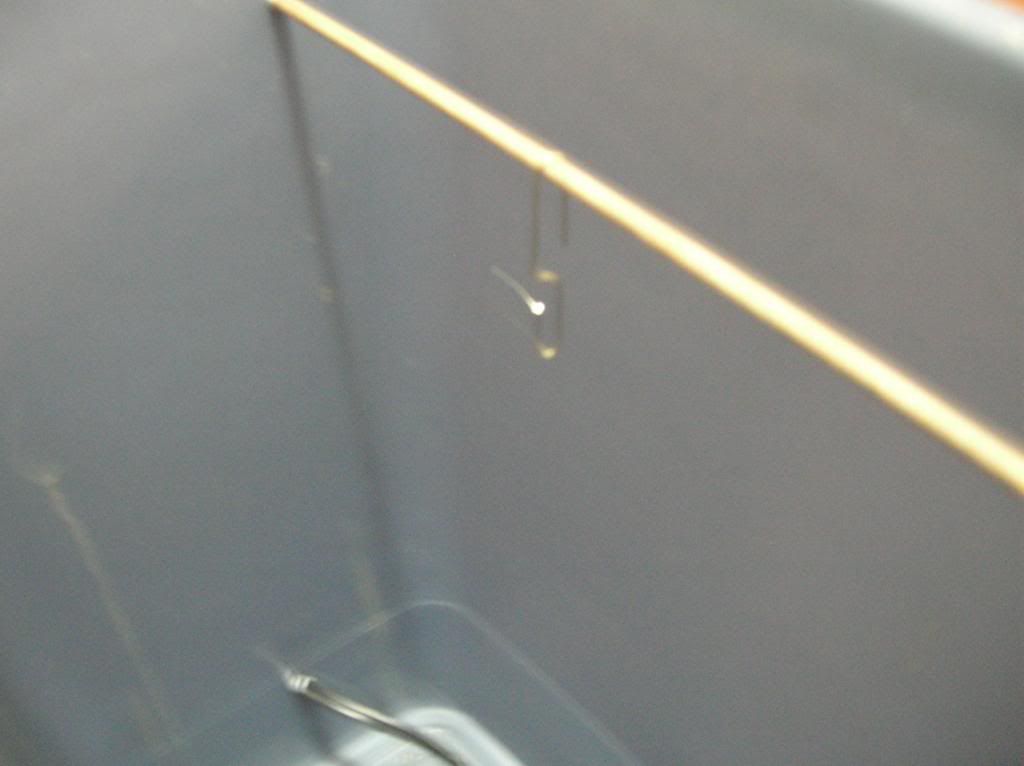
Dowel Holes:
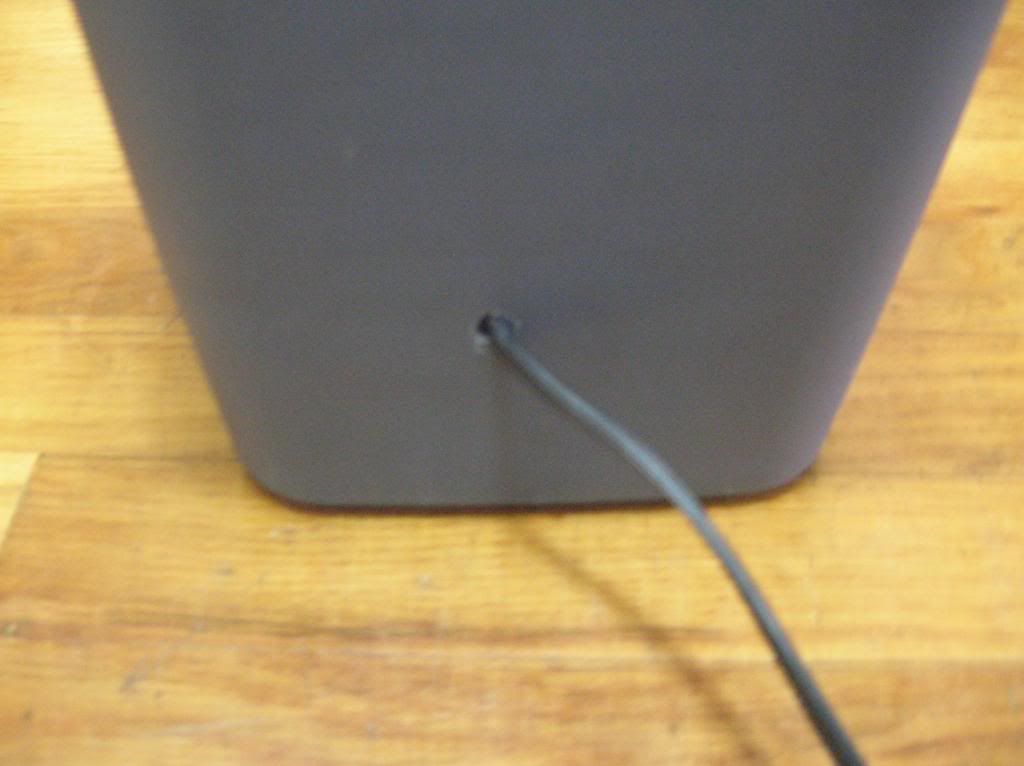
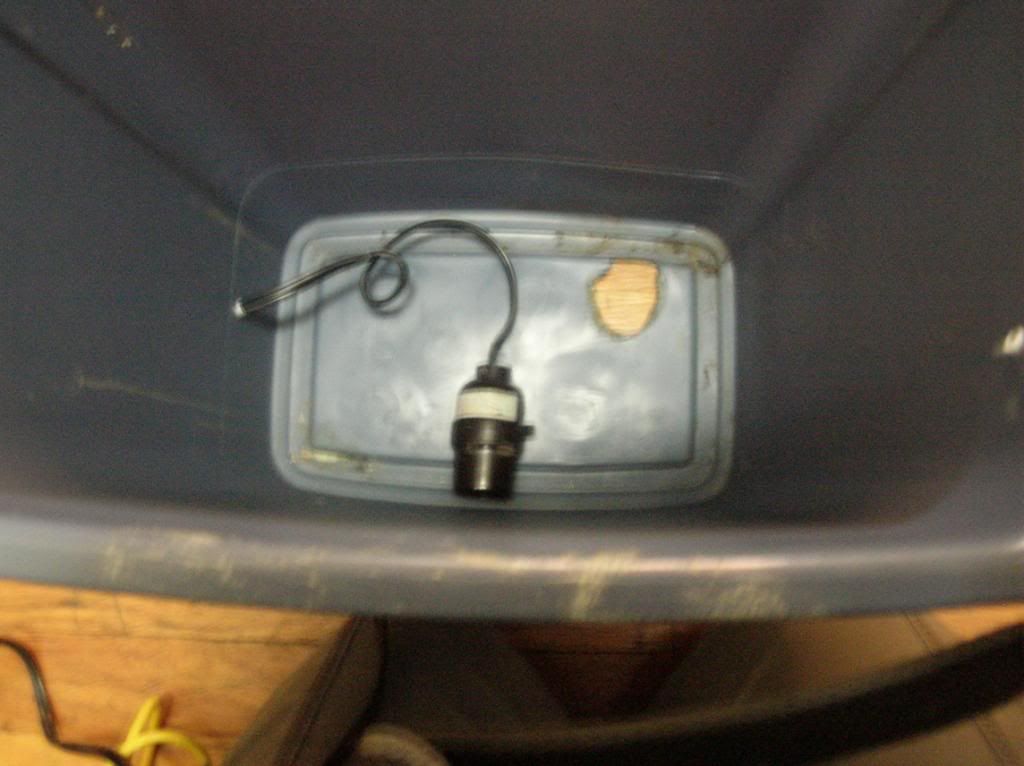
Light Cord Holes: (ignore the cord for now)
You want the cord to be a little off the floor of the bin but not much. It needs to be high enough that the light bulb will not touch the bottom of the bin. (see step 4 for explanation) This hole is drilled in the shorter side of the bin too.
Step Three:
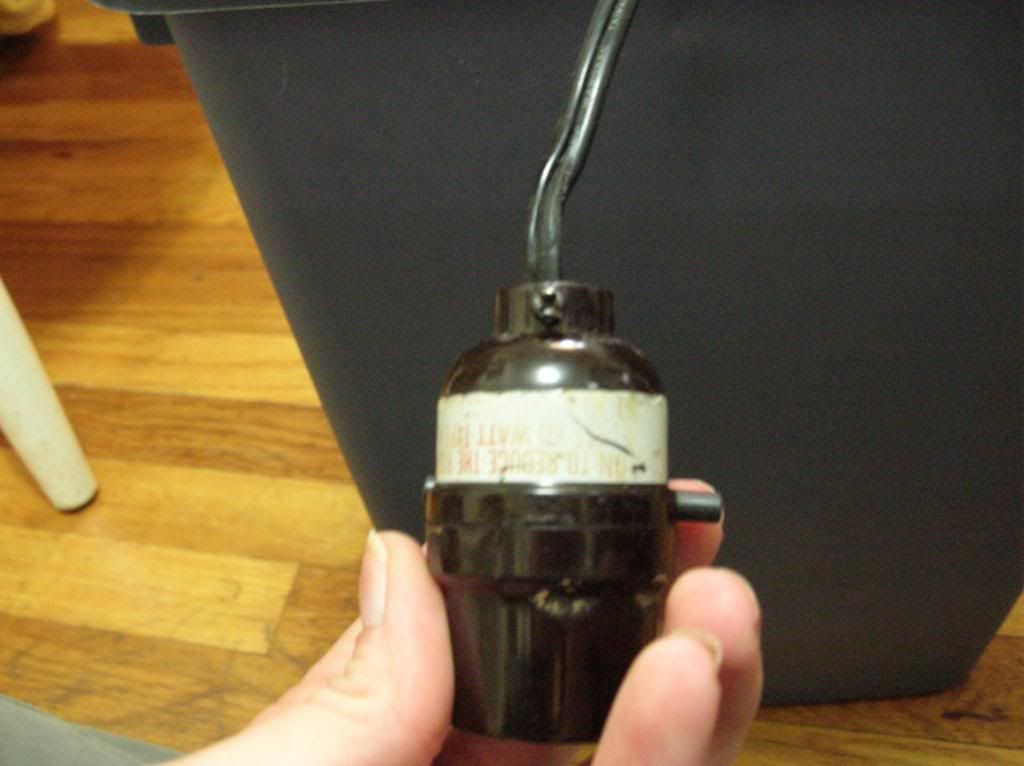
Disassemble your lamp. I don't have very good picture of this so let me know if you need clarification.
Here is where the light bulb goes in, you need to disassemble this part in order to pull the cording out of the bottom of your lamp. I know you can buy all of these parts at a hardware store but we used what we had on hand, just in case anyone is as *cough* frugal as we were I'm including this step. MAKE SURE YOUR LAMP IS UNPLUGGED PLEASE! It goes without saying but just in case someone forgets You will notice the little screw at the base, this holds all the guts of the light socket in there, don't lose the screw, you will need in in a little bit.
Disassemble, this is ours in steps:
This part screws off
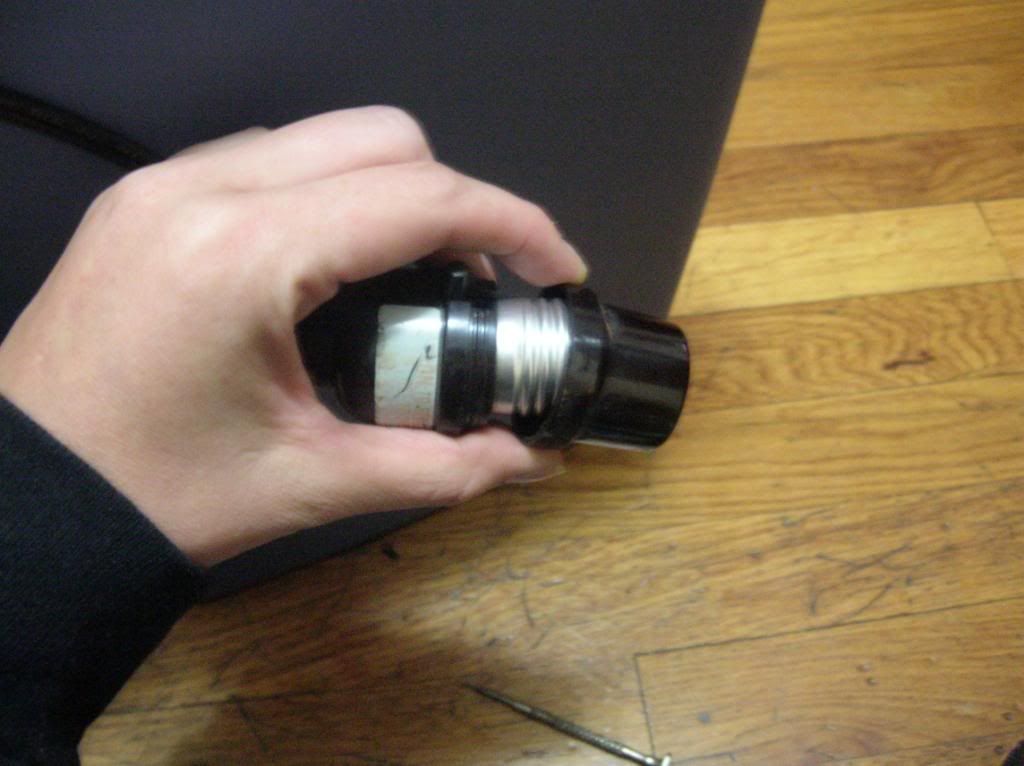
This part pulls back
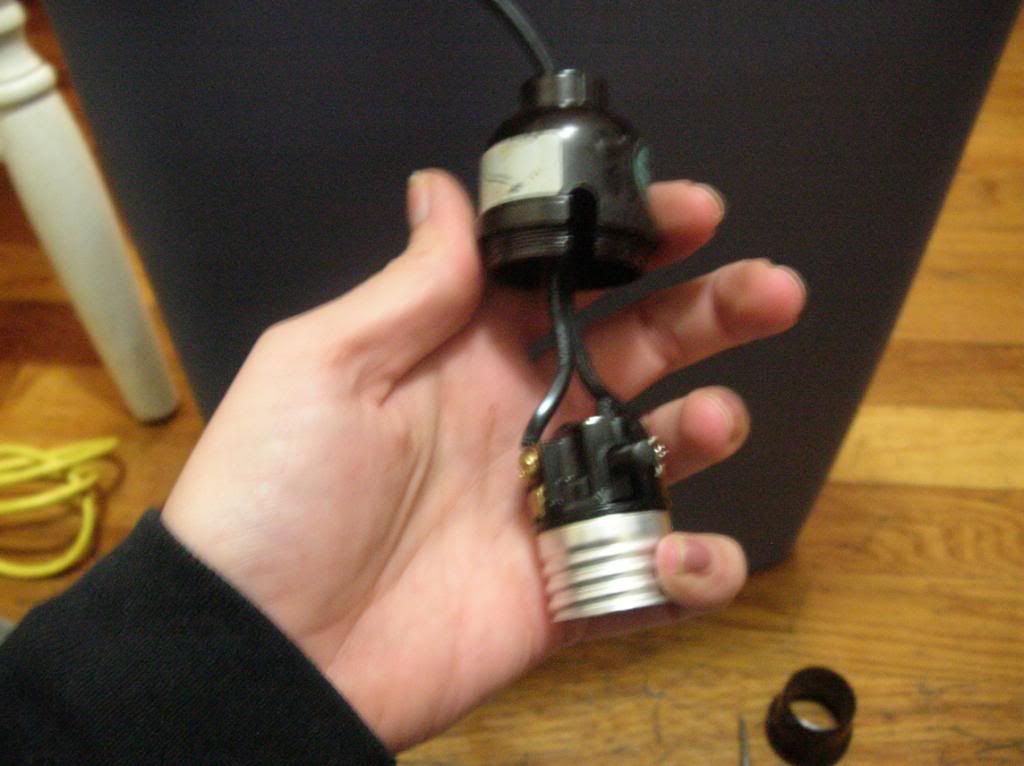
Disconnect the wires from these screws

Now pull the cord out of your lamp base and thread it through the hole you cut in the base of your bin. It doesn't like to fit, threaten it, and then force it through. The fit should be tight. Follow all the steps for disassembling your lamp in reverse order so that the light bulb socket is now inside your bin.
(Ignore the giant hole in the bottom of our bin... that was attempt #1, it didn't work.)
Step Four:
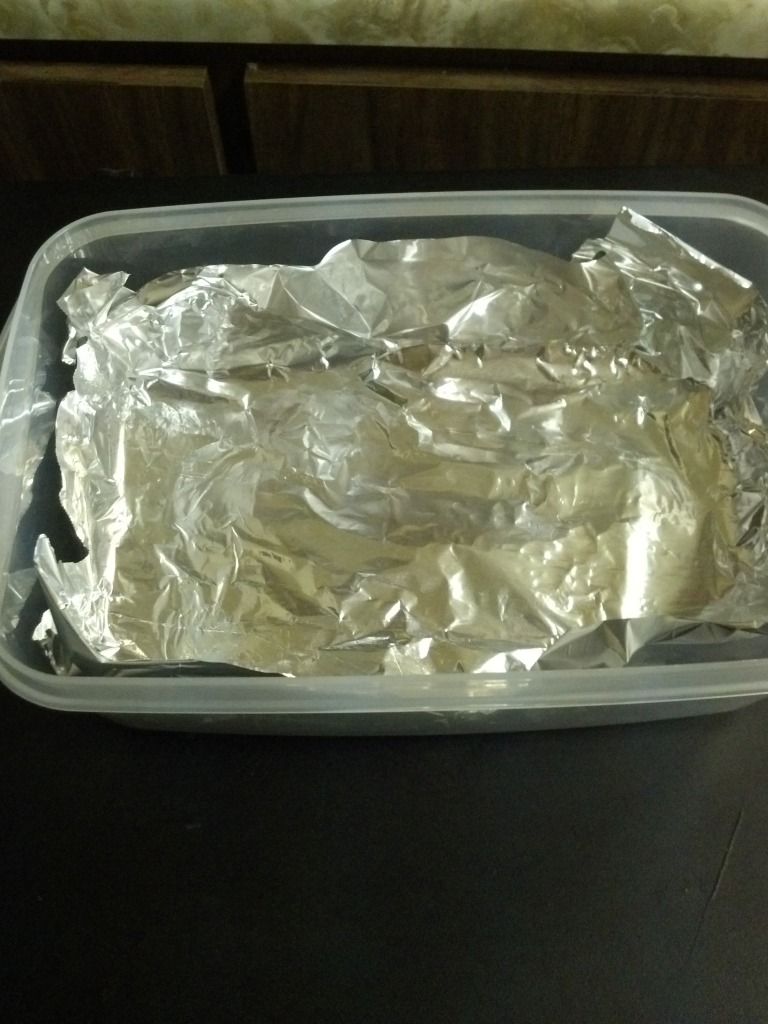
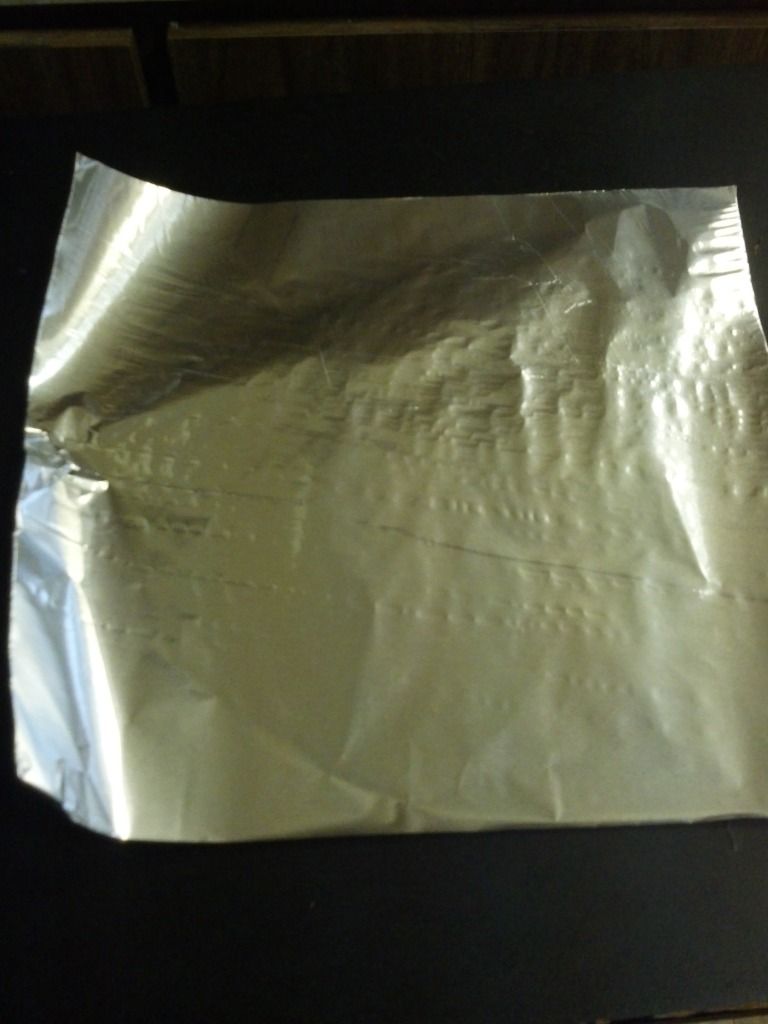
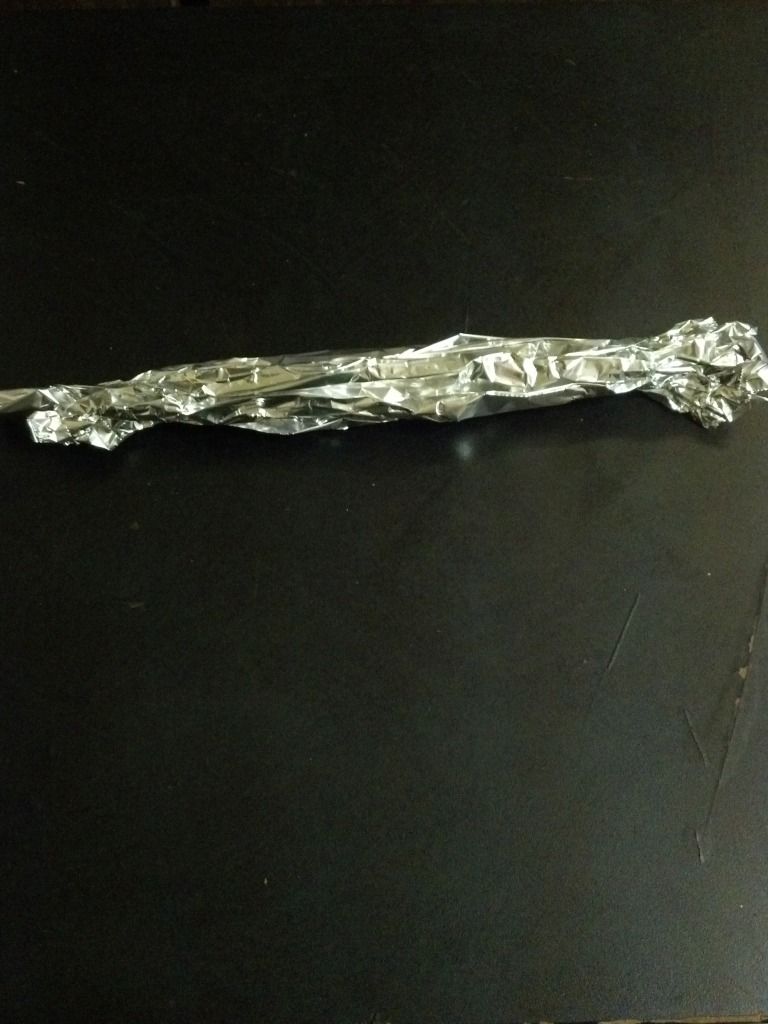
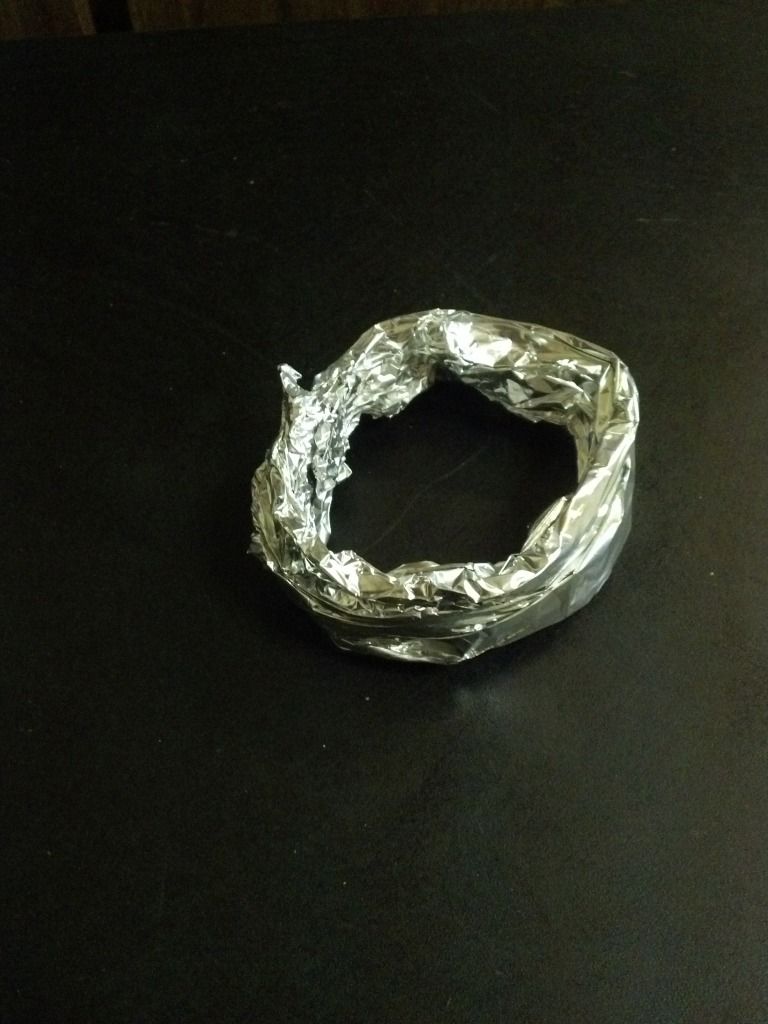
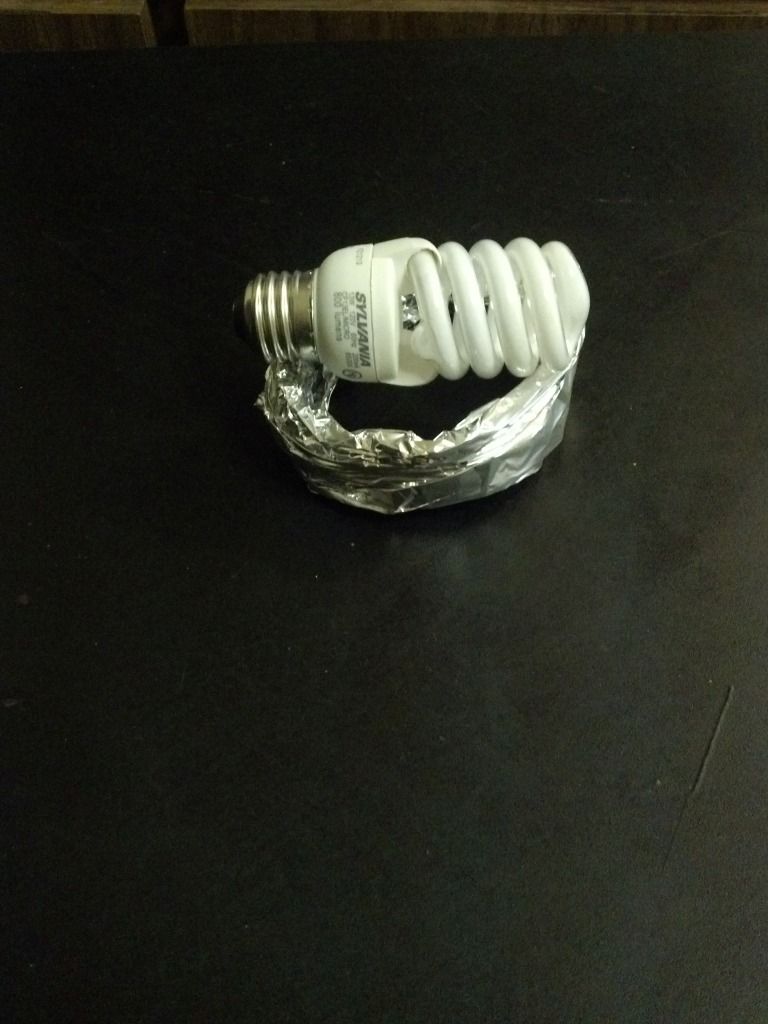
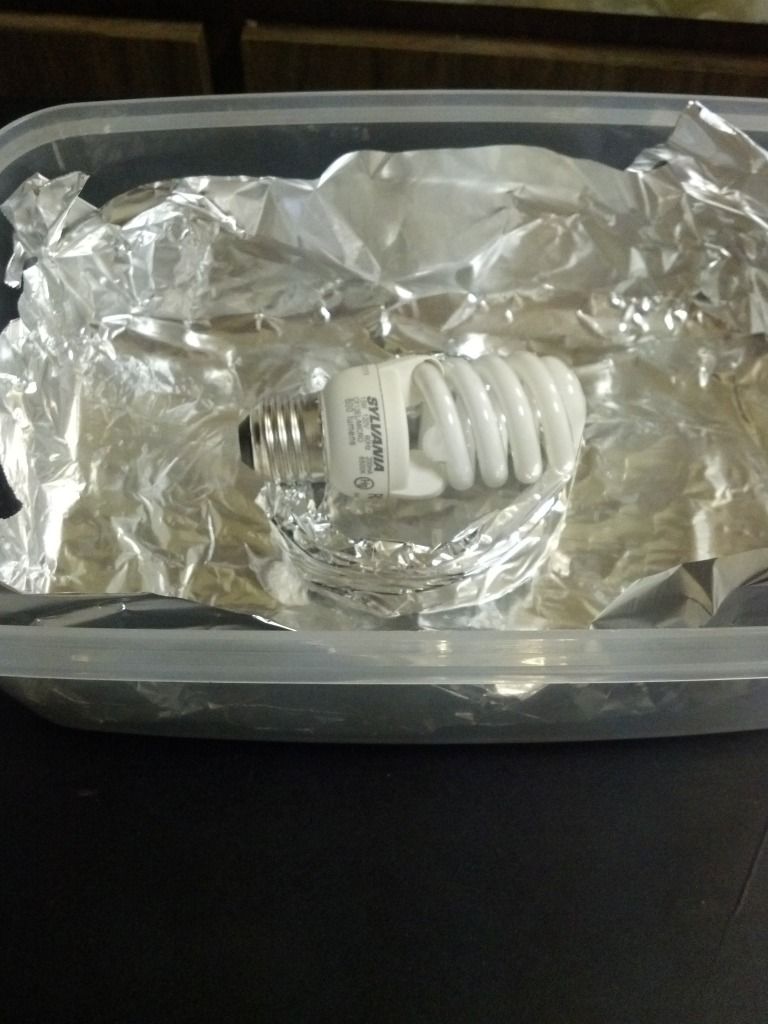
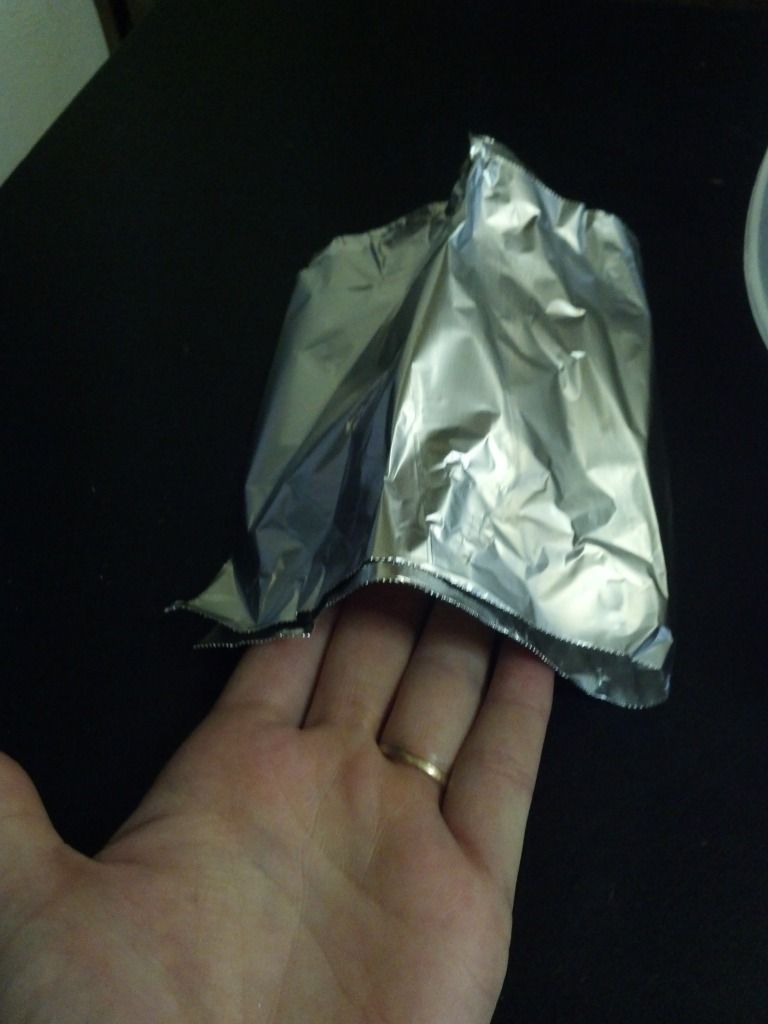
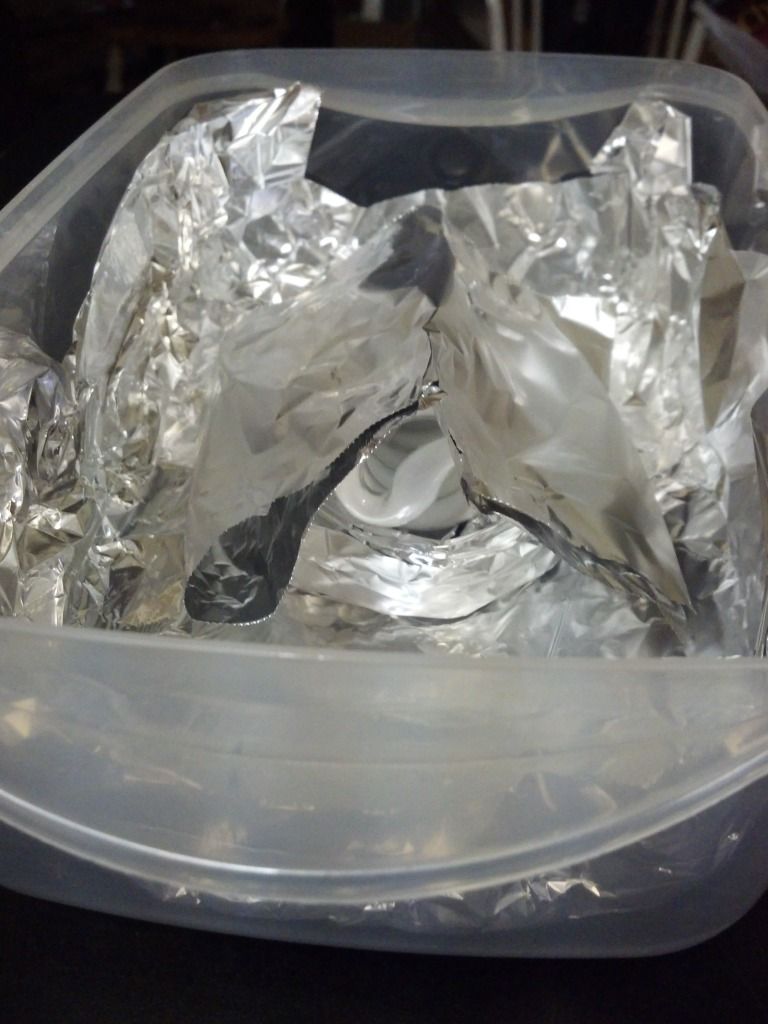
Break out the tinfoil. Line the bottom of the bin to catch drippings. Make a collar of tin foil to hold light bulb sideways. Make a hat for the light bulb to protect it from drippings. Use a 60watt or better light bulb (we used 75w) and it MUST be the old style, not the new energy efficient ones. Feel free to screw in a light bulb now to make sure it will stay laying sideways in your bin. You do not want part of it to touch the floor of the bin or it will melt so the collar has to hold it up high enough.
Step Five:
Thread your dowels into the hole you cut earlier. In my case, retrieve meat flavored dowels from 'helper' and then thread them in.
No Loki, they go in here:
Unbend your paper clips into an 'S' shape and hang em on. the other part of the 'S' hooks your meat.
We didn't have a top to ours, my dad covered it in tea towels to keep the heat in. We duct-taped em down so they didn't fall in. Timing depends on the thickness of your cuts. Also, not all pieces dry evenly, you may have to rotate some or take them out sooner. Per my dad, you want the meat at least 6inches +/- away from the light bulb so it dries out instead of cooks.
So, that's it. If I didn't make something clear let me know.
~Kelli
Supplies:
Rubbermaid bin (In our case a small waste bin)
Old lamp that works (Helps if it's ugly, this one was hideous)
Tin foil
Dremel tool or a pocket knife
Wooden Dowels
Paper clips
Screwdriver
Meat (That part you are on your own)
Step One:
Wash and dry your waste bin.
Here is ours for scale (with a helper)
Step Two:
Drill Holes in bin for light cord and wooden dowels. Make sure there is enough space between your dowel holes that your meat doesn't touch for better airflow. Our bin holds two 'racks'. Make your racks run the longest direction from side to side to hold more meat.
Dowel Holes:
Light Cord Holes: (ignore the cord for now)
You want the cord to be a little off the floor of the bin but not much. It needs to be high enough that the light bulb will not touch the bottom of the bin. (see step 4 for explanation) This hole is drilled in the shorter side of the bin too.
Step Three:
Disassemble your lamp. I don't have very good picture of this so let me know if you need clarification.
Here is where the light bulb goes in, you need to disassemble this part in order to pull the cording out of the bottom of your lamp. I know you can buy all of these parts at a hardware store but we used what we had on hand, just in case anyone is as *cough* frugal as we were I'm including this step. MAKE SURE YOUR LAMP IS UNPLUGGED PLEASE! It goes without saying but just in case someone forgets
You will notice the little screw at the base, this holds all the guts of the light socket in there, don't lose the screw, you will need in in a little bit.Disassemble, this is ours in steps:
This part screws off
This part pulls back
Disconnect the wires from these screws
Now pull the cord out of your lamp base and thread it through the hole you cut in the base of your bin. It doesn't like to fit, threaten it, and then force it through. The fit should be tight. Follow all the steps for disassembling your lamp in reverse order so that the light bulb socket is now inside your bin.
(Ignore the giant hole in the bottom of our bin... that was attempt #1, it didn't work.)
Step Four:
Break out the tinfoil. Line the bottom of the bin to catch drippings. Make a collar of tin foil to hold light bulb sideways. Make a hat for the light bulb to protect it from drippings. Use a 60watt or better light bulb (we used 75w) and it MUST be the old style, not the new energy efficient ones. Feel free to screw in a light bulb now to make sure it will stay laying sideways in your bin. You do not want part of it to touch the floor of the bin or it will melt so the collar has to hold it up high enough.
Step Five:
Thread your dowels into the hole you cut earlier. In my case, retrieve meat flavored dowels from 'helper' and then thread them in.
No Loki, they go in here:
Unbend your paper clips into an 'S' shape and hang em on. the other part of the 'S' hooks your meat.
We didn't have a top to ours, my dad covered it in tea towels to keep the heat in. We duct-taped em down so they didn't fall in. Timing depends on the thickness of your cuts. Also, not all pieces dry evenly, you may have to rotate some or take them out sooner. Per my dad, you want the meat at least 6inches +/- away from the light bulb so it dries out instead of cooks.
So, that's it. If I didn't make something clear let me know.
~Kelli


 . I'm going to sticky it when I get home